See nothing. Clean nothing.
Or after decluttering having your home look like no one lives there?
These were and still are certainly some of my concerns with minimalism. It seems people are being encouraged to be either at one extreme or the other, but what about in between?
I call it Minimalistic-ish.
Because I like simplicity but functionality is still important.
After Reading this post, I invite you to check out my other article where I share practical homemaking tasks designed to enhance your home’s functionality and create a more organized living space.
Homemaking Skills (coming soon)
An Excellent Home (coming soon)
Functional or Dysfunctional?
We all have seen magazines and online pictures of impeccable minimalistic living rooms and kitchens, but whose living rooms and kitchens are these anyway??
Certainly, they belong to single or childless households, I’m sure! (jk)
The truth is, you can still declutter and get rid of many items without compromising the household items you love most.
Starting with functional furniture, moving onto toys, kitchen gadgets, and functional clothing for you, your spouse, and your children.
Let me show you how!
(At the end of this post I share organizing bins and trays I use to stay de-cluttered.)
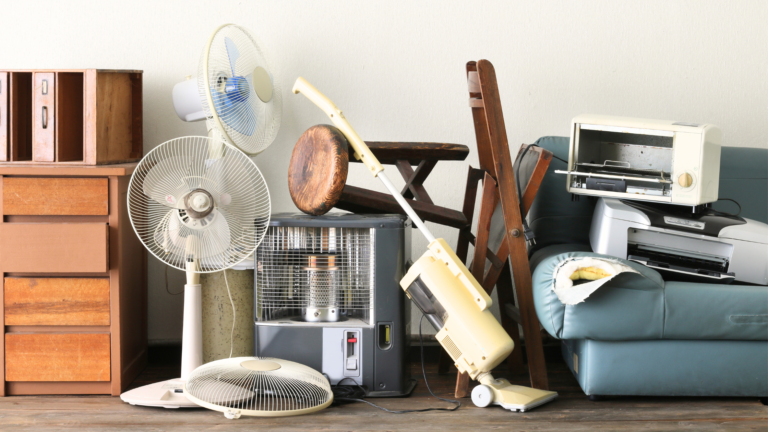
How to indentify the functional items.
Functional items are fairly easy to spot.
(Example: Microwave, Blender, your baby’s favorite toy of all time, and the spatula that has been with you through thick and thin..pancakes)
These are the items you will NOT get rid of. They are the MOST USED daily and seasonal must-use items such as a reusable Christmas Tree.
Spotting the dysfunctional items.
Dysfunctional items are also fairly easy to spot.
(Example: the water bottle with the lid that never seems to close correctly, the heels that never match anything you wear, the children’s toy that gives you anxiety due to how obnoxiously loud it is)
These are items you WILL get rid of. These are items you don’t like the way they look, you have no purpose for them, or maybe put you in a bad mood when being used due to its dysfunctionality such as a zipper not working properly from a duffel bag.
Some items may be salvaged by fixing the item such as replacing a zipper on a duffel bag or fixing a shoe sole with adhesive. Still, in many cases, it’s best to get rid of the item vs. ‘one day’ getting around to actually fixing it because let’s be honest, most of us don’t have the time to get it done.
However, if you must keep it, the strategy is to place it in a bin for “items to fix”. The same strategy applied to “items to donate”.
Check out Dawn from The Minimal Mom,
from whom I adapted a few of my easy decluttering categorizing strategies!
This will help you put the items in either a trash bag, donation box, or “time will tell” bin.
1. Start with Clothing and Toys.
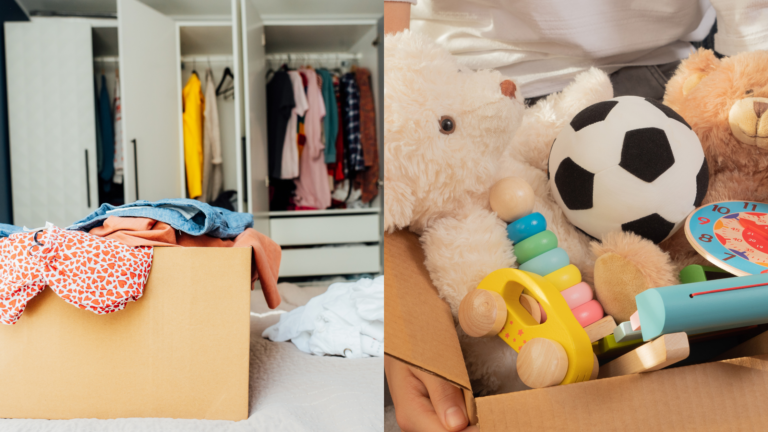
For most families, this is where the most considerable clutter exists.
Several occasions throughout the year bring new items into the home: birthdays, Christmas, or other family events. The clothing category contributes to piles of laundry and hardly ever wearing the look you enjoy.
The toys category contributes to rooms full of toys scattered across the floor meanwhile the children play elsewhere in the house.
(At the end of this post I share organization bins and trays I use to stay de-cluttered.)
Clothing:
Choosing which item pieces to keep or to donate/throw away will require you to make 3 piles.
The keep. The donate. The trash.
For you to keep a clothing item it needs to pass the test.
Does it fit me very well? (Answer must be Yes)
Do I like it? (Answer must be Yes)
Have I used this in the last year? (Answer must be Yes)
Do I already have too many of these? (To keep true to minimalistic-ish allow yourself to have a good rotation of clothing. I personally like 2 weeks’ worth of shirts and one week’s worth of pants and such.)
Clothing (last step):
You must do this to finish off the work and finally get rid of the excess.
The Keep Pile will go back into your dresser or wardrobe in an orderly manner, The Donate Pile will go into your vehicle ready for when you drive by the donation boxes or storefronts, and The Trash Pile, well, we all know that one!
You must follow through on these steps in order to successfully be done with clothing de-clutter. And when you face more clutter in the future you will know what to do.
Toys:
If you have several children (like me) this can be a bit tricky because a toy one child ignores and never plays with, the other child does play with it and therefore you feel obligated to keep it. So, how can we decide which toys to keep and which to donate?
I have a method that has worked great for our family of four children ranging from 1 – 8 years of age. Everyone ends up happy and they are excited to do it again the next time it’s needed.
I don’t know if there is a name for it but we’ll call it: Less Mess = Less Stress Toy Game
What you will need:
- A Donation Box (the box should also be donated along with toys)
- A trash bag
- 1-3 toy bins (to organize the toys)
Follow these 4 decluttering Steps
Step 1: Remove the obvious. Toys that are broken or have missing parts/pieces are not serving their purpose and should be thrown away. For example; if a puzzle is not complete, you choose if it should be kept or donated.
Step 2: Separate toys into categories. Now that you know which ones are fair game. It’s time to make piles. All Legos should go together, all cars together & trucks together, dolls & doll accessories together, kitchen toys together, etc.
Step 3: Pick a category to de-clutter. Have your children line up to take a turn choosing 3-6 items from the pile. You will decide how many rounds they will have. Whatever is left over is what will be donated. I recommend 2-3 rounds for the doll & doll accessories etc.
What this will do: When children have a part in making their choice on what to keep or not, they learn a few things; keeping the useful is fun, and getting rid of the un-useful is okay. Let’s face it. Children tend to be hoarders as if it were by nature. This method is not just a game, but a learning opportunity.
Step 4: Organize and decide which bins will go on rotation. Now that your children have chosen which toys they ACTUALLY like. It’s time to organize them and set them in a rotation to prevent all the bins from being emptied in 5 minutes the next time they play.
Depending on the amount of bins you have. Choose which categories you will bundle together or have in its own bin.
2. Bathrooms are next.
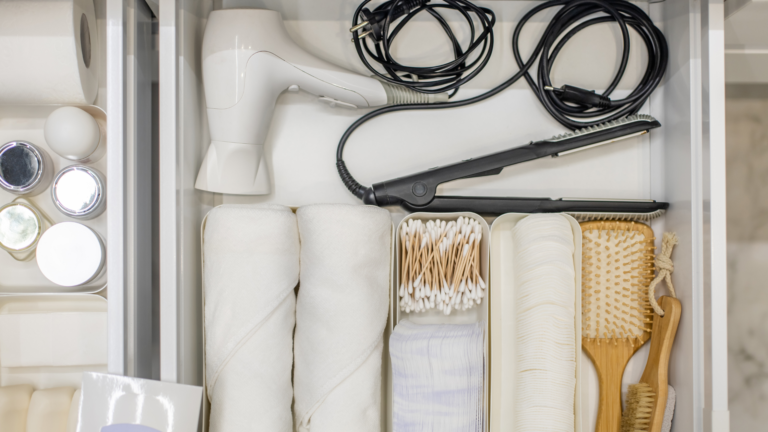
While our bathrooms may not be the worst on this list they are smaller and more manageable spaces to de-clutter, allowing you to tackle them quickly. Giving you a sense of accomplishment early on.
(At the end of this post I share organizing bins and trays I use to stay de-cluttered.)
Inside the Shower/Tub. Throw away all empty product bottles, and the almost empty bottles, finish those first the next time you shower/bathe and toss them out.
Within your bathroom inventory, there should only be razors, loofahs, pedi rasps, and items of the like in moderation. Keep one of each item in the shower and unopened items elsewhere in storage.
Storage and Under the Sink items. Only keep up to two re-stock items you frequently use. (Ex: I use Milani Highly Rated Lash Extensions Tubing Mascara for Added Length and Lift – Black – I only keep two of these stored and one in my make-up bag that I use daily.)
Decor. You may think this doesn’t matter, but it does! Keep the wall decor to a bare minimum and counter space decor to maybe one plant, soap dispenser, candle, towel, and cotton swab/balls. You should only keep on your counter what guests also need access to.
Towels & other. Depending on the size of your family, you will keep one towel per household member plus an additional 2 or 3 towels. If you are only one or two household members, keep 1 additional towel.
3. Kitchen
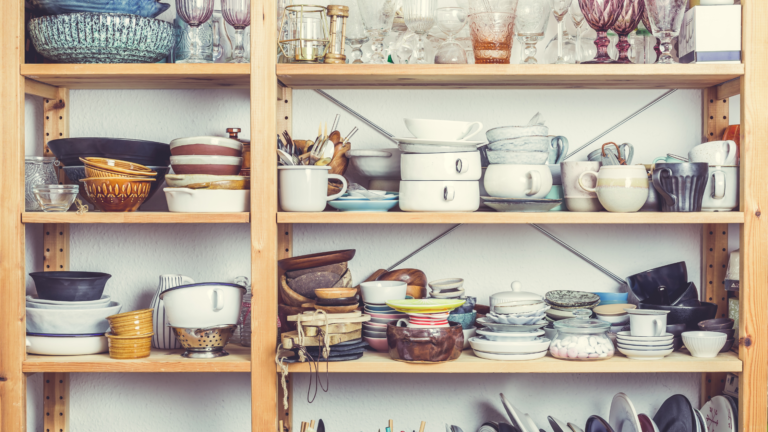
Personally, this part of the home is the most daunting and most difficult to keep in order because of the many people involved daily.
Pantry. Ordering a set of organizing containers would be ideal. Check Out Airtight food storage containers with lids. However, plain & simple dollar store organization bins will do.
Step 1: Throw away all expired food.
Step 2: Throw away/give away food items you have not used in more than 6 months.
Step 3: Consolidate the same items. (Combine)
Step 4: Organize
Refrigerator. Set of 8 Fridge Organizer.
Cookware & Utensil Inventory. It’s tempting to keep your kitchen stocked up on an infinite amount of utensils “in case” they are needed during gatherings or lost items, but if we want to manage fewer items, we must let go.
Important Inventory Tip for Large Gatherings!
The size of your household gatherings won’t always determine how much utensil inventory you should keep.
Our family often has guests ranging from 1 family – to 6 large families all at once. (That’s a total of up to 30 people at once)
This is our inventory:
For us as a family of 6, we own one set of glass cups (4 plastic cups for the kids), 8 meal plates, 8 smaller plates (4 plastic bowls for the kids), 4 bowls (4 plastic bowls for the kids), 9 coffee cups (mainly for guests), 3 medium/3 small/1 large Tupperware, 1 main mixing bowl, 6 spoons, 9 forks.. you get the idea..
My point is; do not feel obligated to keep so much inventory simply because your gatherings are large.
Instead; purchase disposable forks, spoons, and plates. This will not only cut your cleaning time by 50% but prevent you from storing all this unused inventory you do not use most of the time.
For this, grab a donation box.
Step 1: If you have more than one plate/cup set, sort out and determine which set has missing items and keep the one you like best and best fit for your family’s needs. (For guests, you may use disposable or keep a second set tucked away in a different storage area) Everything else will be donated or given away.
I recommend keeping 2-3 additional plates and cups than the number of people in your household for daily use.
Step 2: Empty your cooking spoons drawer, and sort out which ones are used and which are not. Donate the ones that are not used.
(Pro tip: Throw away any cooking utensils that are not in good-looking condition. Any household item that is not in great condition will make your home look less appealing.)
My Cooking Spoon Choice: 5 Pcs Best Wooden Spoons for Cooking Kitchen Utensils Set Non-Stick Spoon Acacia Wood
Step 3: Place all cooking pans on your kitchen table/countertop and begin sorting which pans are used on a daily/weekly basis. Next, on the same pile, add the pans that you absolutely need for gatherings.
The pans that are left untouched are the pans that should be donated.
Step 4: Repeat the declutter process with any other set/collection such as tumblers, jars, mixing bowls, crock-pots, baking utensils, and any other cooking utensil items.
4. Hobby Collections

Guilty!
I am currently working on this one in my home. My hobby collection is of Cricut items. Let me tell you what my plan is.
Step 1: Acknowledge that you have a problem and you MUST get rid of at the very least ¼ of the problem (for starters).
Step 2: Take it category by category. For example, if your hobby is gardening. Begin by sorting out all the hand shovels, then gardening gloves, etc.
Throw away/donate the broken/less appealing to the eye (ugly ones) and donate any that are not used.
Step 3: Organize your joyful clutter.
I think our hobby collections should be the only category we proudly keep a tad bit more inventory than other things, this isn’t a need but something we enjoy and can share with friends and family and can add to our lives if used for the right purpose.
5. Homeschool Supplies
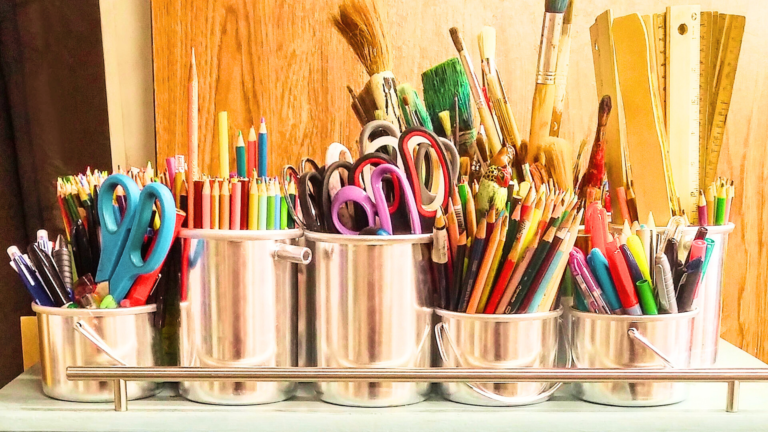
I have to include this one for the homeschool moms who follow me!
This can be tricky because it varies much from household to household but as a mom of 4 small children, I can guarantee, you don’t need a room full of homeschool supplies. For some, a small dresser should be enough.
I placed this storage organizer in our dining area for fast and easy access to all our homeschool supplies: Sauder Select Storage Cabinet White Finish
Step 1: Separate workbooks and supplies that are used daily/weekly.
These will be the ones you keep.
Step 2: Group similar subjects together. (these are all the other books you own)such as..
- Math
- Science
- Reading/Language Arts
- Music/Arts
Step 3: Go through each subject, decide what will not be used and donate.
Once grouped, go book by book and ask yourself these questions:
Does this fit our household lifestyle? (I am an open-and-go curriculum-type mom)
Does this support our household values?
How long have I had this unused? (donate/sell items you haven’t used over a year, if you have multiple children you can extend the time frame to 2-3 years)
Step 4: If you have a curriculum that is not ready to be used, place it in a specific large bin to store for the near future.
(You want to keep your homeschool area minimal, this makes it all-around easier for everyone).
THERE IT IS!
That was a long read. I know! But I hope this process will or has helped you as much as it has helped me.
Our homes may not look perfect but as you adopt the tactic of continuous de-clutter, it will make a world of difference in your home.
See y’all round!
“Through wisdom, a house is built, And by understanding it is established;”
Proverbs 24:3

